
Most no bake chocolate peanut butter oat bars fall apart the second you try to slice them, or turn out so hard you can’t bite through the chocolate. The reason is almost always the same: the ratio of peanut butter to oats is off, or the peanut butter itself is the wrong texture. Fix that one thing and the whole recipe becomes reliable.
No bake chocolate peanut butter oat bars are a 5-ingredient dessert made by pressing a mixture of creamy peanut butter, maple syrup, and rolled oats into a pan, then topping with melted chocolate and coconut oil. They set in the fridge in about an hour and slice cleanly when fully chilled. Everything below comes from that one baseline — the ratio, the peanut butter type, and how long you leave them alone before cutting.
Why the Peanut Butter–to–Oat Ratio Decides Everything
There’s nothing to bake here, no eggs to bind, no flour to structure. The bars hold together because of three things: fat, sugar, and starch. Peanut butter brings the fat and protein that act as glue. Maple syrup brings viscosity — it’s what makes the mixture sticky enough to press. Rolled oats bring bulk, but they also absorb some of the syrup and soften slightly at room temperature.
The working ratio is roughly 1 part peanut butter to 2 parts oats by volume. Push more oats in and the bars go dry and crumbly. Push more peanut butter in and the base stays sticky no matter how long you chill it. Maple syrup sits between them — enough to sweeten and bind, not so much that the mixture becomes wet.
If your peanut butter is thick and firm out of the jar, you’ll need slightly less oats. If it’s drippy and thin, add an extra tablespoon or two. That’s the whole recipe in one sentence.
The 5 Ingredients (and What Each One Actually Does)
Every ingredient here works for its keep. Nothing is decorative.
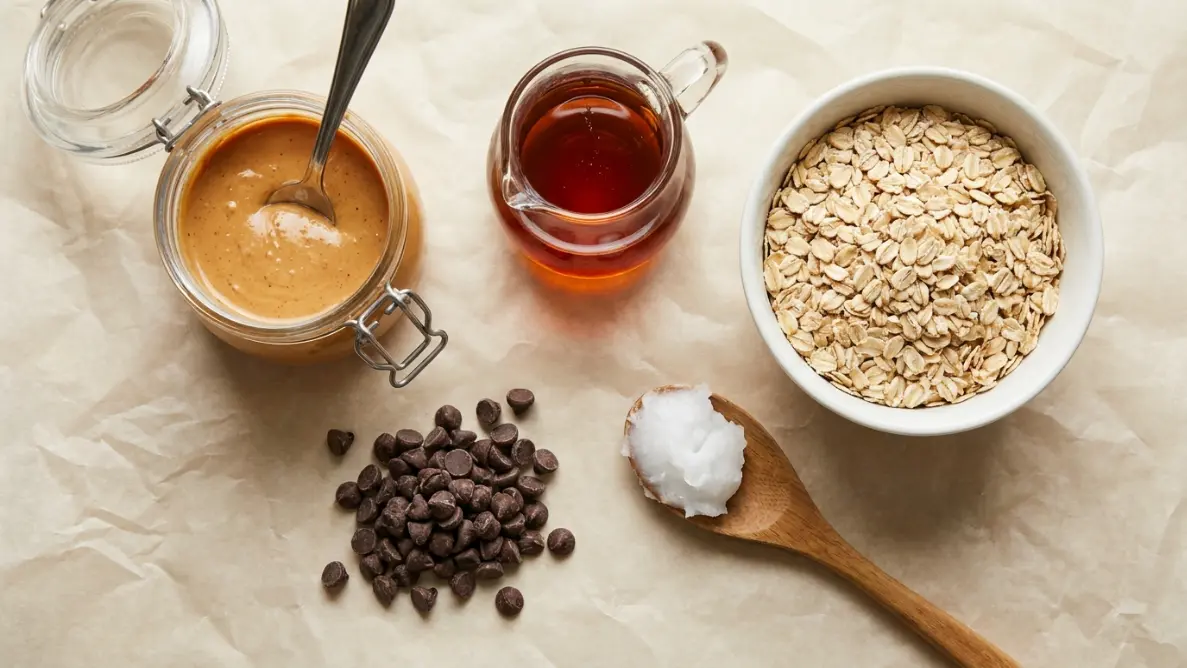
Creamy peanut butter (1 cup). This is the binder. Use a smooth, well-stirred peanut butter. Chunky works but the pieces disrupt how cleanly the bar slices.
Maple syrup (1/3 cup). Pure maple, not pancake syrup. It sweetens and keeps the base pliable. Honey works too and gives slightly firmer bars.
Rolled oats (2 cups). Old-fashioned rolled oats — the flat, thick kind. They soak up just enough moisture without turning into paste.
Semi-sweet chocolate chips (1 cup). For the top layer. Semi-sweet balances the peanut butter without being too sweet or too bitter.
Coconut oil (1 tablespoon). Mixed into the chocolate. It’s the small detail that makes the topping smooth instead of chalky and prevents the chocolate from cracking when you cut through it.
Natural vs Regular Peanut Butter
Both natural and conventional peanut butter work, but their consistency changes the result. Natural peanut butter with separated oil usually makes softer bars and must be stirred completely before measuring. A thicker, stabilized peanut butter generally produces firmer bars that slice more cleanly. Judge the mixture by texture: after stirring in the oats, a spoonful should fall as one cohesive clump rather than pour or crumble.
How to Make No-Bake Chocolate Peanut Butter Oat Bars
Making no bake chocolate peanut butter oat bars starts with the pan. Line an 8×8 pan with parchment paper, leaving overhang on two sides. This is how you’ll lift the whole slab out later.
- Warm the peanut butter and maple syrup. In a microwave-safe bowl, combine 1 cup peanut butter and 1/3 cup maple syrup. Microwave 30 to 45 seconds until the mixture is loose and pourable. Stir until fully smooth. You want it warm enough to move easily but not hot enough to scald.
- Add the oats. Pour in 2 cups rolled oats and stir with a spatula until every oat is coated. The mixture should look thick, glossy, and slightly wet — not dry patches, not soup.
- Do the spoon-drop test. Lift a heaping spoonful about six inches above the bowl and let it drop. It should fall as one clump, not scatter into loose oats. If it scatters, add another tablespoon of peanut butter. If it slides off the spoon like batter, add another tablespoon of oats.
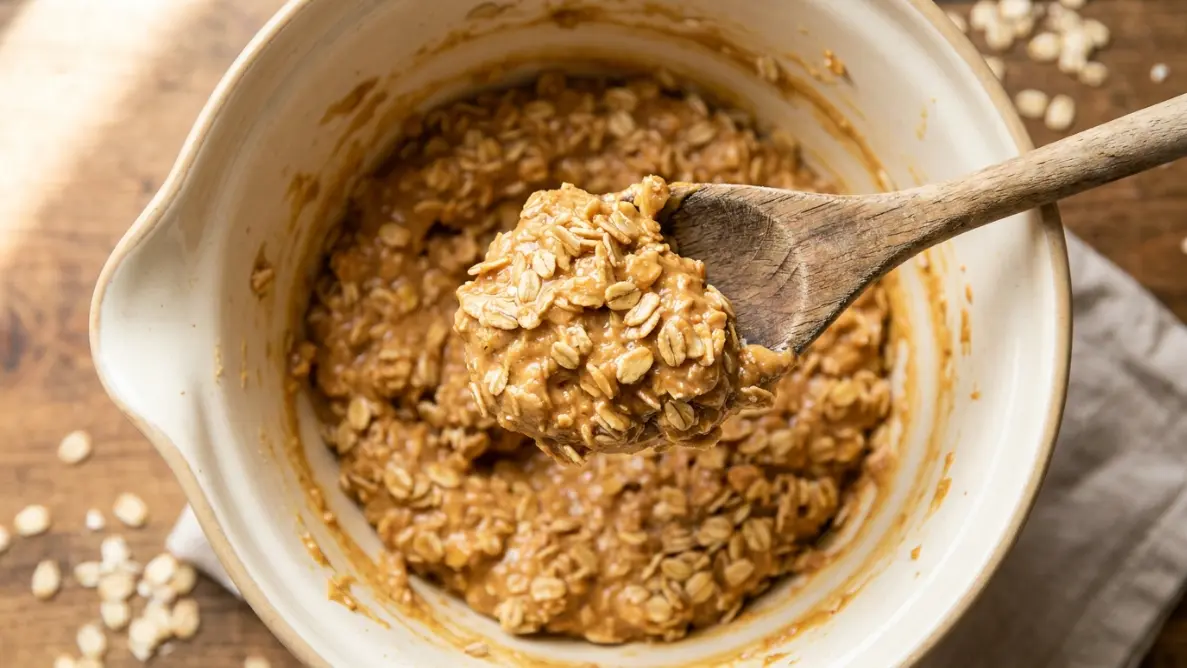
- Press into the pan. Scrape everything into the lined pan. Press firmly and evenly with the back of the spatula, or lay a sheet of parchment on top and press with your palm. The tighter you press, the cleaner the bars slice.
- Melt the chocolate topping. In a separate bowl, microwave 1 cup chocolate chips with 1 tablespoon coconut oil in 30-second bursts, stirring between each, until fully smooth. Usually 60 to 90 seconds total.
- Pour and spread. Pour the chocolate over the pressed oat base. Tilt the pan gently to spread, then smooth with a spatula. Sprinkle flaky sea salt now if you like.
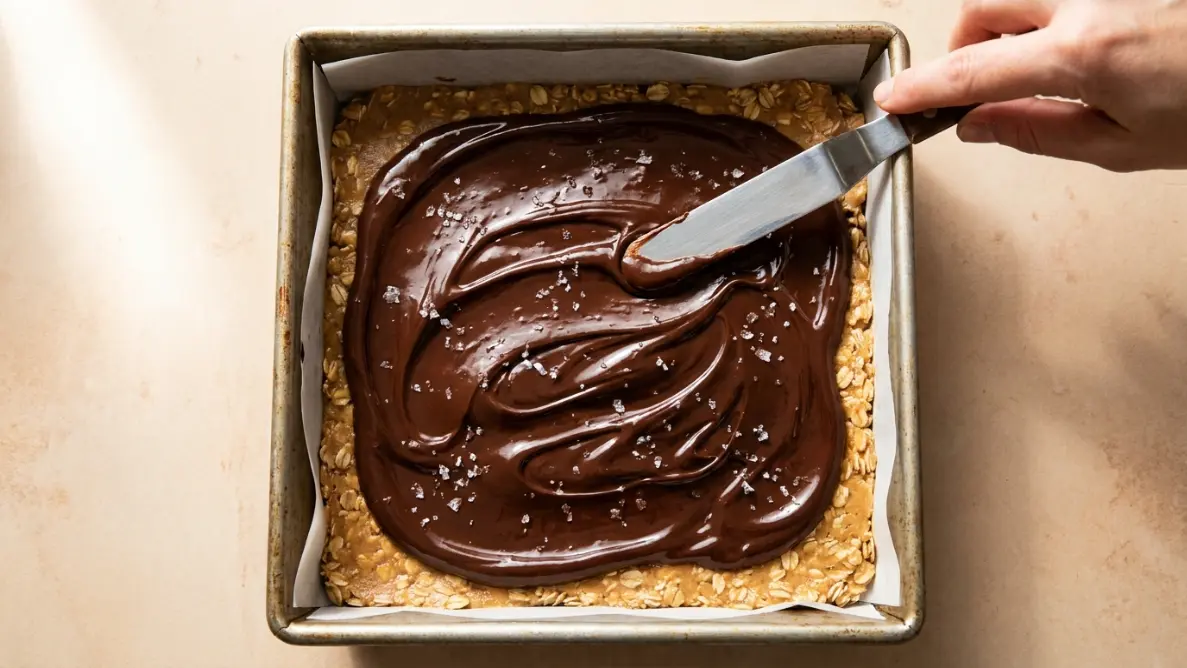
- Chill. Refrigerate at least 1 hour, ideally 2, until the chocolate is set and the base feels firm when you press it.
Chilling and Slicing Without Cracks
Cold chocolate cracks. That’s the whole problem with cutting no bake chocolate peanut butter oat bars straight from the fridge — the top shatters instead of slicing, and you get uneven squares with jagged tops.
The fix is a short warm-up. Once the bars are fully set (chocolate firm, base solid to the touch), lift the slab out of the pan using the parchment overhang and set it on a cutting board. Let it sit on the counter for about 10 minutes. The chocolate softens just enough to yield to a knife without breaking.
Use a sharp chef’s knife. Between cuts, wipe the blade with a warm damp cloth. This melts any peanut butter or chocolate stuck to the blade and gives you clean edges.
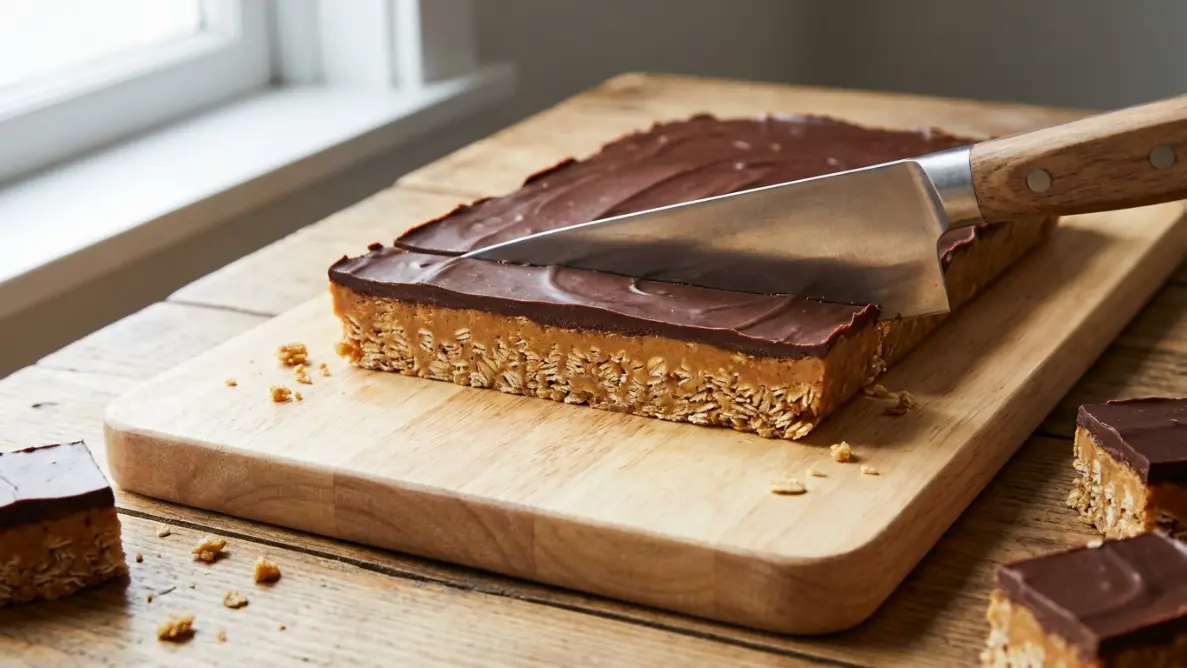
Cut into 16 squares (4×4 grid) for standard portions, or 12 rectangles for larger bars. If the top still cracks slightly, run the blade under hot water, dry it, then cut. Warm metal slides through set chocolate more cleanly than cold metal.
How to Store and How Long They Keep
No bake chocolate peanut butter oat bars are stable in three places, but not equally.
Refrigerator: Store in an airtight container with parchment between layers. They hold their texture for about 1 week. The base stays soft-firm; the chocolate stays glossy.
Freezer: Wrap individual squares in parchment or plastic, then place in a freezer bag. They freeze well for up to 3 months. Thaw for 10 to 15 minutes on the counter before eating — they’re pleasant slightly firm, straight from cold.
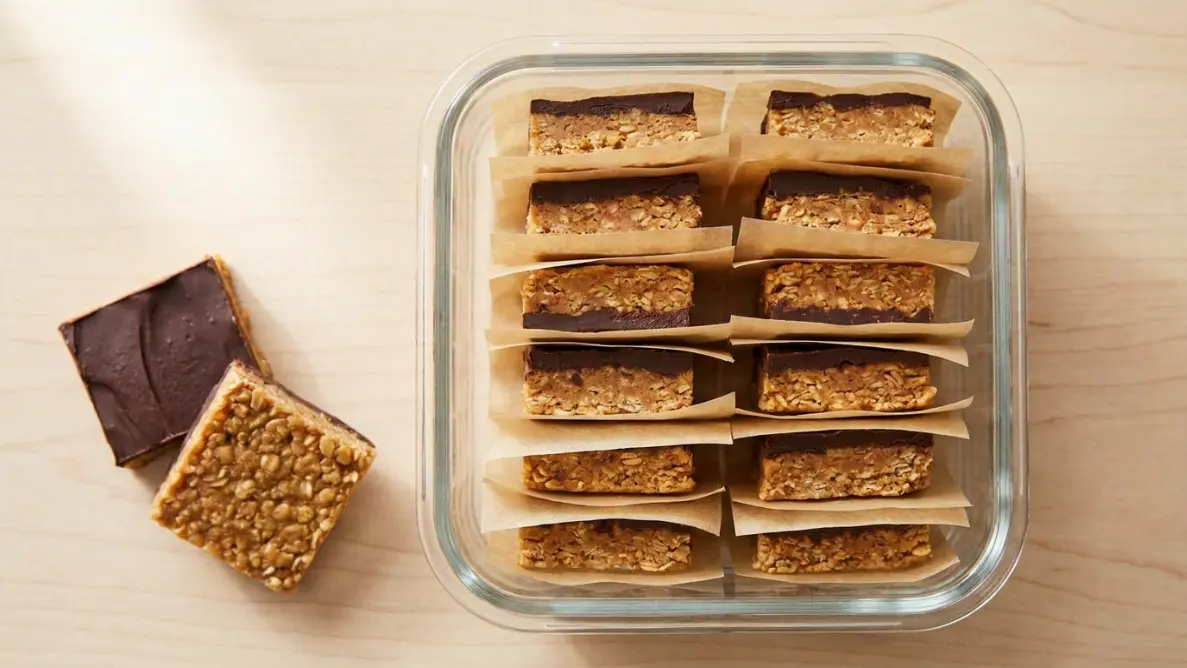
Room temperature: Fine for a few hours if the room is cool, but the base softens quickly in warm kitchens and the chocolate can bloom. Not the place for long-term storage.
The most common storage mistake is stacking bars without a barrier. The chocolate on one square sticks to the base of the next, and you lose the clean top. Parchment between layers solves this every time.
Easy Variations That Don’t Break the Ratio
Every variation below keeps the peanut butter–to–oats ratio intact. Add-ins that push oats over 2 cups (or replace part of them with something drier) will make the bars crumble. Stick to swaps and small additions.
- Honey instead of maple syrup. Same amount. Produces firmer, slightly sweeter bars.
- Almond butter instead of peanut butter. Straight swap. Milder flavor, same texture. Cashew butter also works.
- Sunflower seed butter as a peanut-free alternative. Use a similarly thick, well-stirred product and verify every ingredient label and facility warning; “peanut-free” does not automatically mean safe for every nut or seed allergy.
- Add-ins (up to 2 tablespoons total). Mini chocolate chips stirred into the oat base, chopped nuts, hemp seeds, or coconut flakes. More than 2 tablespoons and the ratio starts to fail.
- Flaky sea salt on top. Adds contrast. Sprinkle right after you spread the chocolate, while it’s still warm and will grip the salt.
- Dark chocolate instead of semi-sweet. Straight swap. If your peanut butter is unsalted, add a small pinch of salt to the base so the flavor doesn’t fall flat.
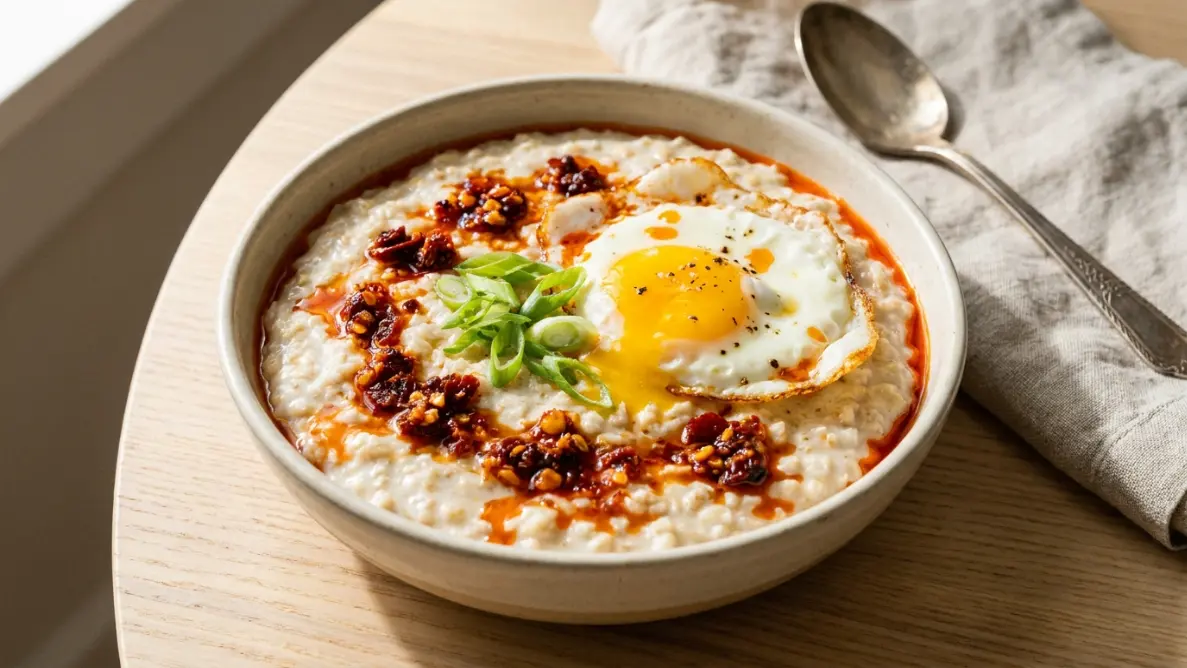
If you like keeping rolled oats around for more than dessert, they also work in the opposite direction — try them in savory oatmeal with chili crisp for a completely different flavor register.
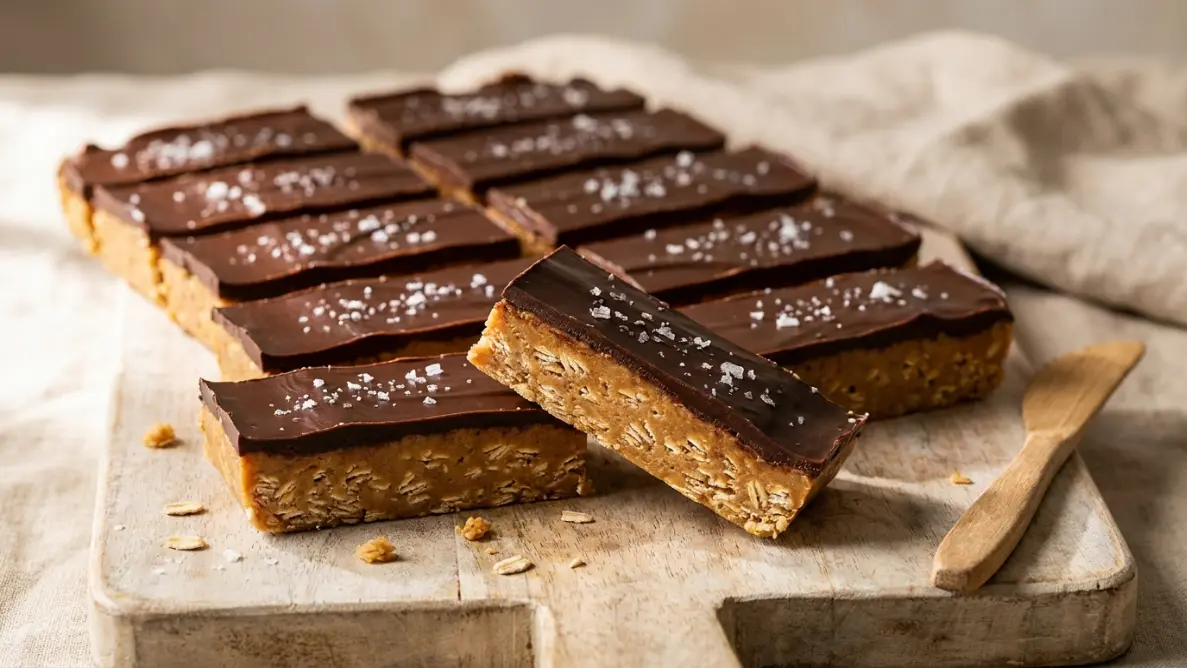
5-Ingredient No-Bake Chocolate Peanut Butter Oat Bars
Ingredients
Method
- Line an 8×8 inch pan with parchment paper, leaving overhang on two sides.
- In a microwave-safe bowl, combine peanut butter and maple syrup. Microwave 30 to 45 seconds until pourable, then stir smooth.
- Add rolled oats and stir until every oat is coated. Test by dropping a spoonful from six inches — it should fall as one clump.
- Scrape the mixture into the pan. Press firmly and evenly using the back of a spatula.
- In a separate bowl, microwave chocolate chips and coconut oil in 30-second bursts, stirring between each, until fully smooth.
- Pour the chocolate over the oat base. Tilt the pan and smooth with a spatula. Sprinkle flaky salt if using.
- Refrigerate at least 1 hour, ideally 2, until the chocolate is set and the base is firm.
- Lift out using the parchment. Rest at room temperature 10 minutes, then slice into 16 squares.
Notes
Frequently Asked Questions
Why won’t my no-bake bars set?
The most likely reason is too much peanut butter, too much maple syrup, or not enough chill time. Give them another hour in the fridge before deciding — most bars firm up fully around the 90-minute mark.
Do these need to be refrigerated?
Yes, at least once to set. After that they’ll hold at cool room temperature for a few hours, but they slice cleaner and taste better chilled.
Can I use quick oats instead of rolled oats?
You can, but the texture changes. Quick oats absorb liquid faster and go soft, so the bars end up more paste-like than chewy. If quick oats are all you have, reduce them by about 1/4 cup to keep the mixture from turning gummy. Steel-cut oats do not work here — they stay hard and the bars won’t hold together.
Can I use honey instead of maple syrup?
Yes, use the same amount. Honey is thicker than maple syrup, so the mixture will be slightly stickier and the finished bars will be a touch firmer. Some brands of honey carry a stronger flavor that competes with the peanut butter, so pick a mild variety like clover if you want the peanut butter to lead. If your honey has crystallized, warm it gently before measuring.
Why are my bars crumbling when I cut them?
Two likely causes. Either the mixture didn’t have enough peanut butter to bind the oats (add 1 tablespoon next time), or you pressed the mixture into the pan too lightly. When you press, use real force — the base should feel dense and compressed, not fluffy. Also make sure you’re slicing when the bars are fully chilled but the chocolate has warmed for 10 minutes on the counter first.
Final Note
Bake nothing, learn everything from the first batch. If your no bake chocolate peanut butter oat bars came out too soft to hold when you picked one up, next time drop the maple syrup by a tablespoon and add two extra tablespoons of oats. If they came out dry and crumbled at the edges, add another tablespoon of peanut butter and press harder. The ratio has a small range where it forgives, and once you find yours, you don’t need the recipe anymore.
Leave a Reply