
Old kimchi is the ingredient people throw away most often. It’s also the exact ingredient this dish needs to work.
Kimchi fried rice with egg — the Korean home-cook classic known as kimchi bokkeumbap — is what happens when the kimchi in the jar has gone too sour to eat straight. This is the fastest kimchi fried rice with egg you can make from what’s already in the fridge.
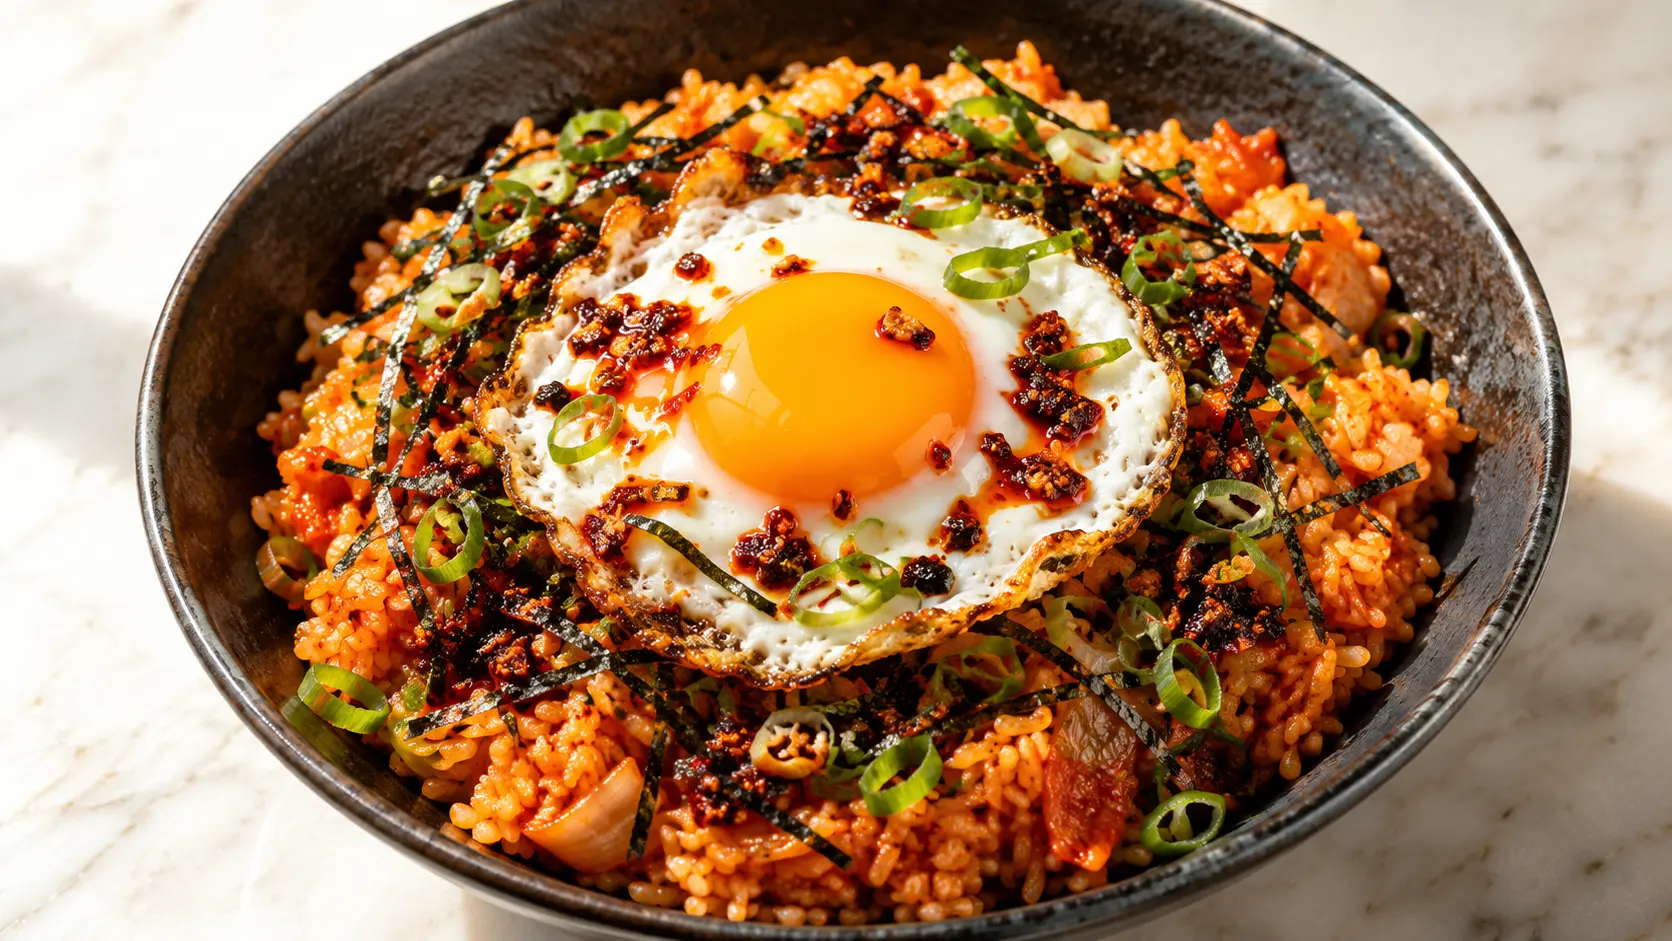
Aged kimchi, day-old rice, a sunny-side-up egg with the yolk still runny, and a spoon of chili crisp on top. About twenty minutes on the stove, one skillet, no wok required. The kimchi caramelizes in the oil until the fat in the pan turns the color of a terracotta pot, and that’s when the rice goes in. What comes out is deeper, funkier, and more umami-heavy than any fresh-kimchi shortcut can produce.
A Quick Note on Kimchi Bokkeumbap
In Korea, this isn’t a recipe you plan. It’s what happens when kimchi has been in the fridge too long — bubbling in the jar, hissing when you crack the lid, no longer bright or crisp. That very-aged kimchi is called mugeun-ji, and it powers a whole family of dishes.
The dish belongs to the same family as other fermented cabbage staples that anchor Korean home cooking — kimchi jjigae, kimchi jeon, kimchi mandu. Kimchi bokkeumbap is the fried rice branch. It shows up in family kitchens, in late-night bunsik joints, and on top of every Korean fried rice-and-egg photo that goes viral every few months. The formula holds wherever it lands: aged kimchi, cold rice, a fried egg. Everything else is negotiable.
Why Aged Kimchi Beats Fresh Kimchi Here
Fresh kimchi is bright and crunchy. Aged kimchi is soft, sour, and slightly funky — and every one of those traits works in your favor when the pan gets hot.
Three things happen when kimchi ferments past the fresh stage. Lactic acid builds up, which is where that sharper sour edge comes from, and that acid balances the fat you’re about to cook with. Natural sugars in the cabbage break down and caramelize faster once heat hits them, which is why aged kimchi browns in the pan while fresh kimchi just wilts. And the cell walls in the cabbage soften, so it collapses into the oil instead of staying crunchy — which lets it coat every grain of rice instead of sitting on top in stubborn chunks.
You’ll know your kimchi is ready when the lid hisses on opening, the liquid inside has turned a deeper red-brown, and the smell is noticeably funkier — closer to aged cheese than to fresh cabbage. If your kimchi doesn’t do any of that yet, skip to the substitutions section further down for a way to speed things up.
Ingredients You’ll Need
Everything you need for kimchi fried rice with egg splits into three groups: the base, the fat, and the finish.
The base
- 1½ cups aged kimchi, roughly chopped (include the juice)
- 3 cups cooked short- or medium-grain white rice, cold from the fridge
- 2 tablespoons kimchi juice from the jar
The fat
- 2 tablespoons neutral oil (grapeseed, vegetable, or avocado)
- 1 teaspoon toasted sesame oil — for finishing, not cooking
The finish
- 2 large eggs (one per serving)
- 2 scallions, thinly sliced
- 1 teaspoon soy sauce
- 1 teaspoon gochujang (optional, if your kimchi is mild)
- 1 to 2 tablespoons chili crisp, spooned over at the table
- Roasted seaweed (gim), torn into strips (optional)
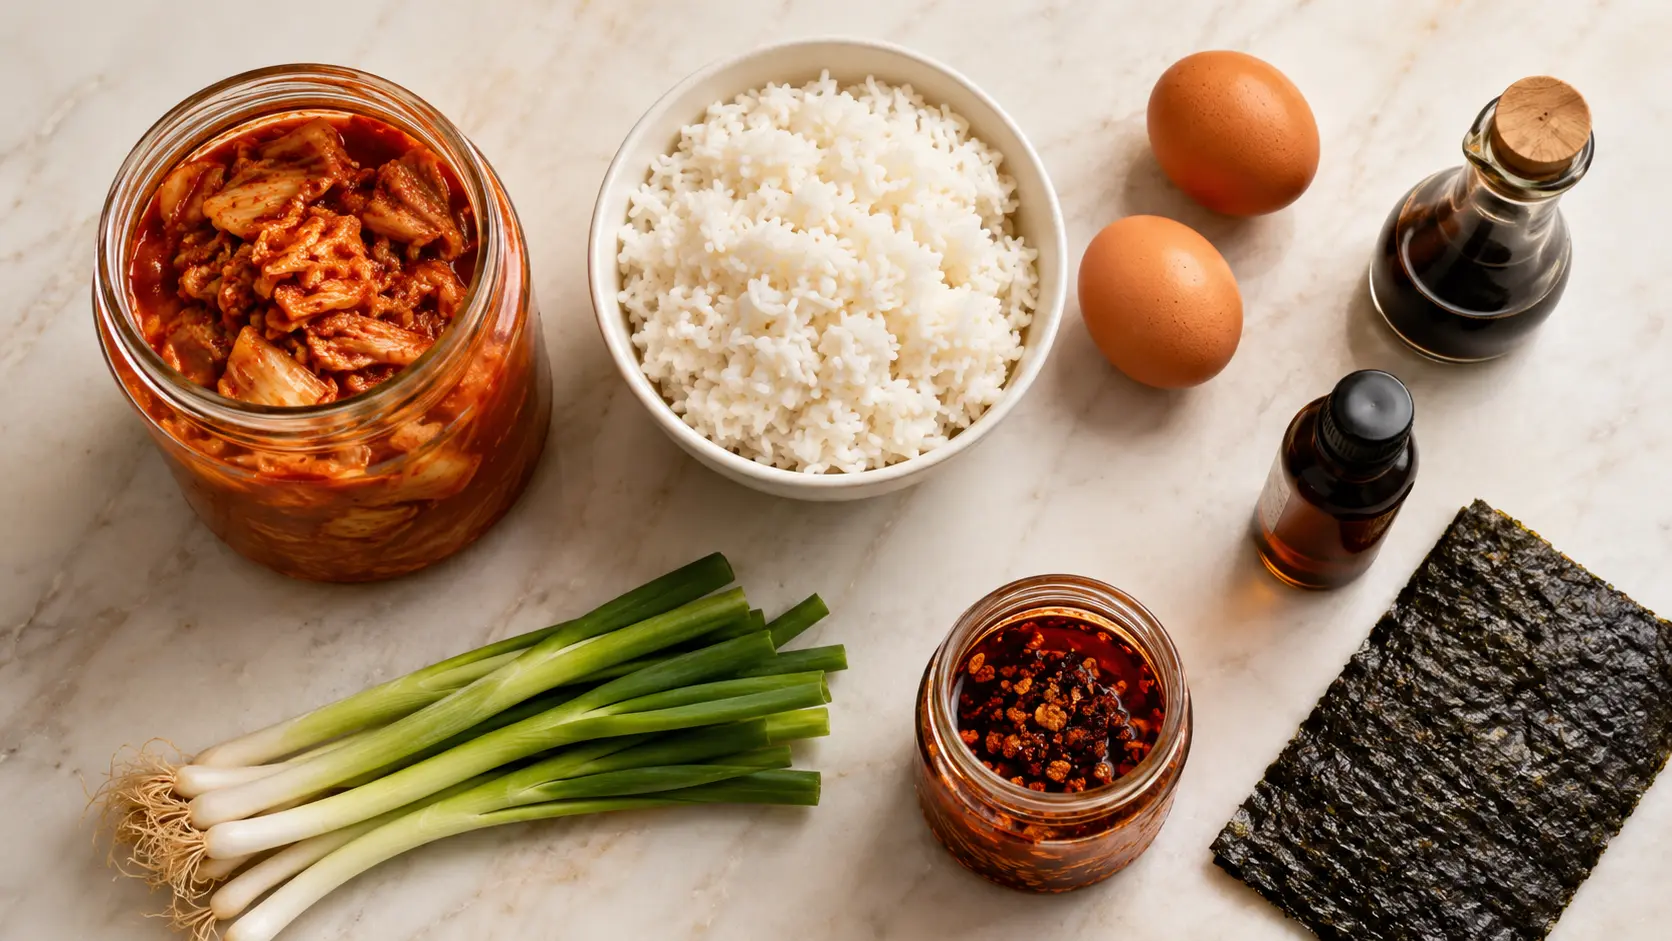
Rice choice matters more than you’d think. Short-grain Korean or Japanese rice (grocery-store labels like “sushi rice” work) has enough surface starch to hold together in small clumps while staying chewy in the center. Long-grain jasmine works in a pinch — it stays separate but still absorbs flavor. Basmati doesn’t work well here. The grains are too dry and too long; they stay stubborn and won’t pick up the kimchi coating properly.
How to Make Kimchi Fried Rice With Egg
The Kimchi Layer
Chop the kimchi into pieces roughly the size of a fingernail. Anything bigger stays stubbornly chunky in the final bowl. Save the juice from the jar — you’ll need it in a minute.
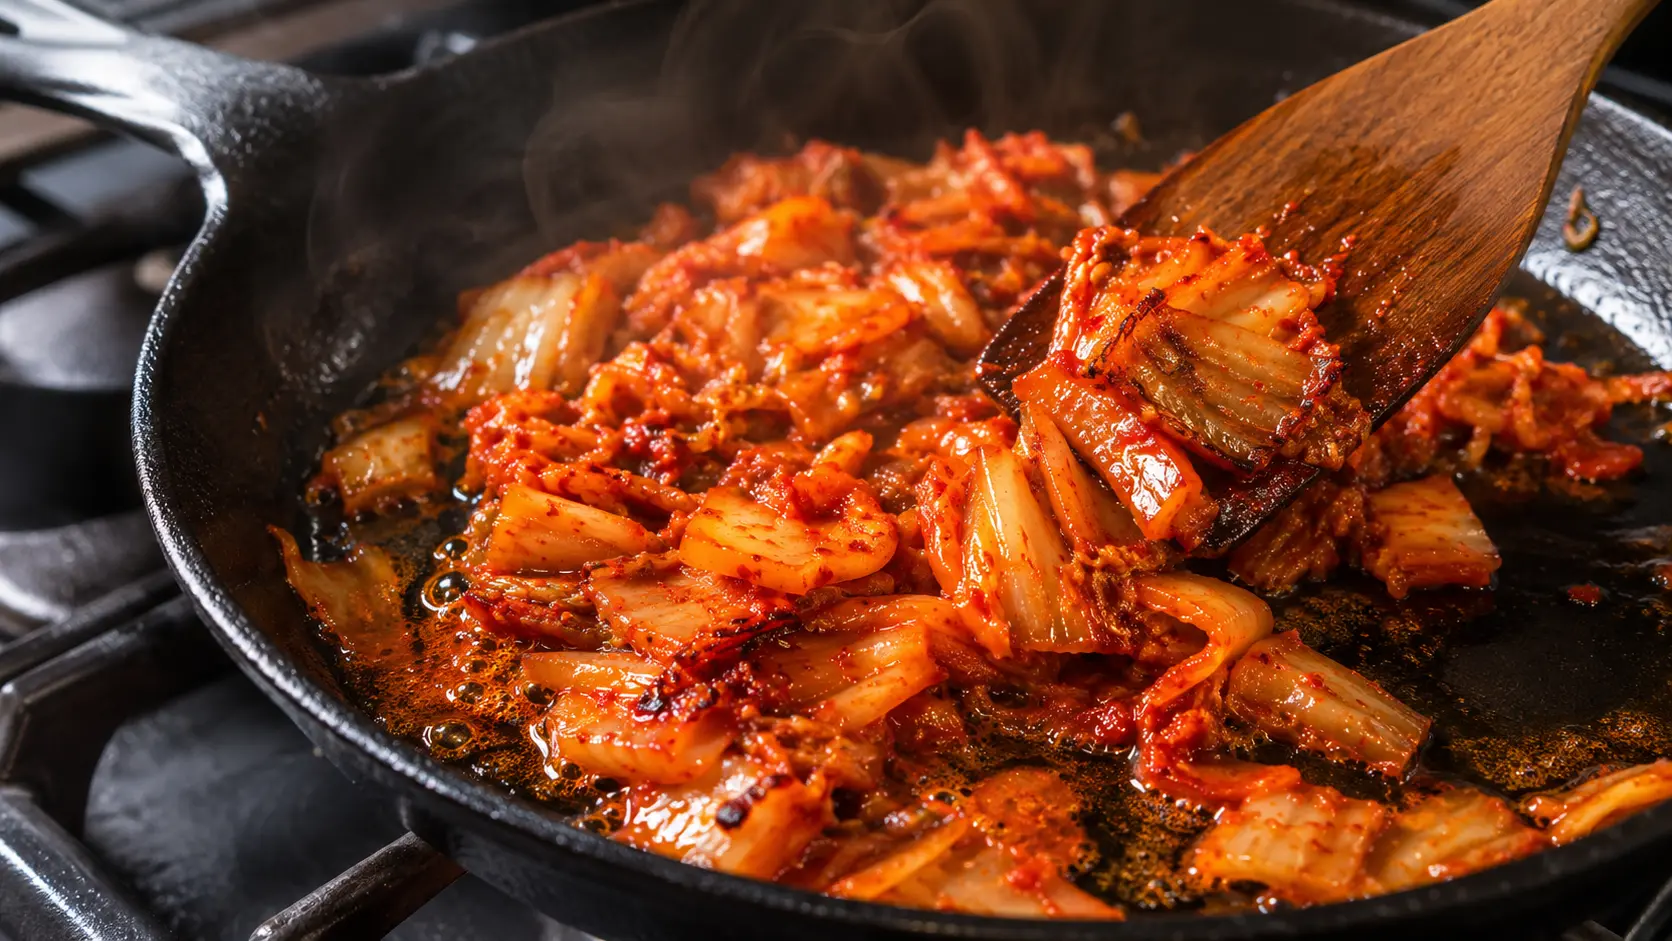
Heat the neutral oil in a heavy skillet or cast-iron pan over medium-high heat. Once the oil shimmers, add the chopped kimchi in a single layer. Let it sit undisturbed for about 60 seconds before you stir. That first minute is where the caramelizing starts.
Cook for four to five minutes total, stirring every 30 seconds or so. Here’s the key: watch the oil around the kimchi, not the kimchi itself. When the fat in the pan shifts from clear yellow to a deep terracotta orange, you’ve hit the moment. The kimchi will have softened at the edges, some pieces will have crisped, and the sugars will have caramelized into the oil. That orange fat is your flavor base. Pour in the two tablespoons of kimchi juice and let it reduce for another 30 seconds until the pan looks glossy again.
The Rice Layer
Break up the cold rice with your hands before it goes anywhere near the pan. Cold rice from the fridge separates into clumps that pull apart easily between fingertips — a spatula just smashes them into the grains and gives you gummy patches. For fried rice, twelve to twenty-four hours old is the sweet spot.
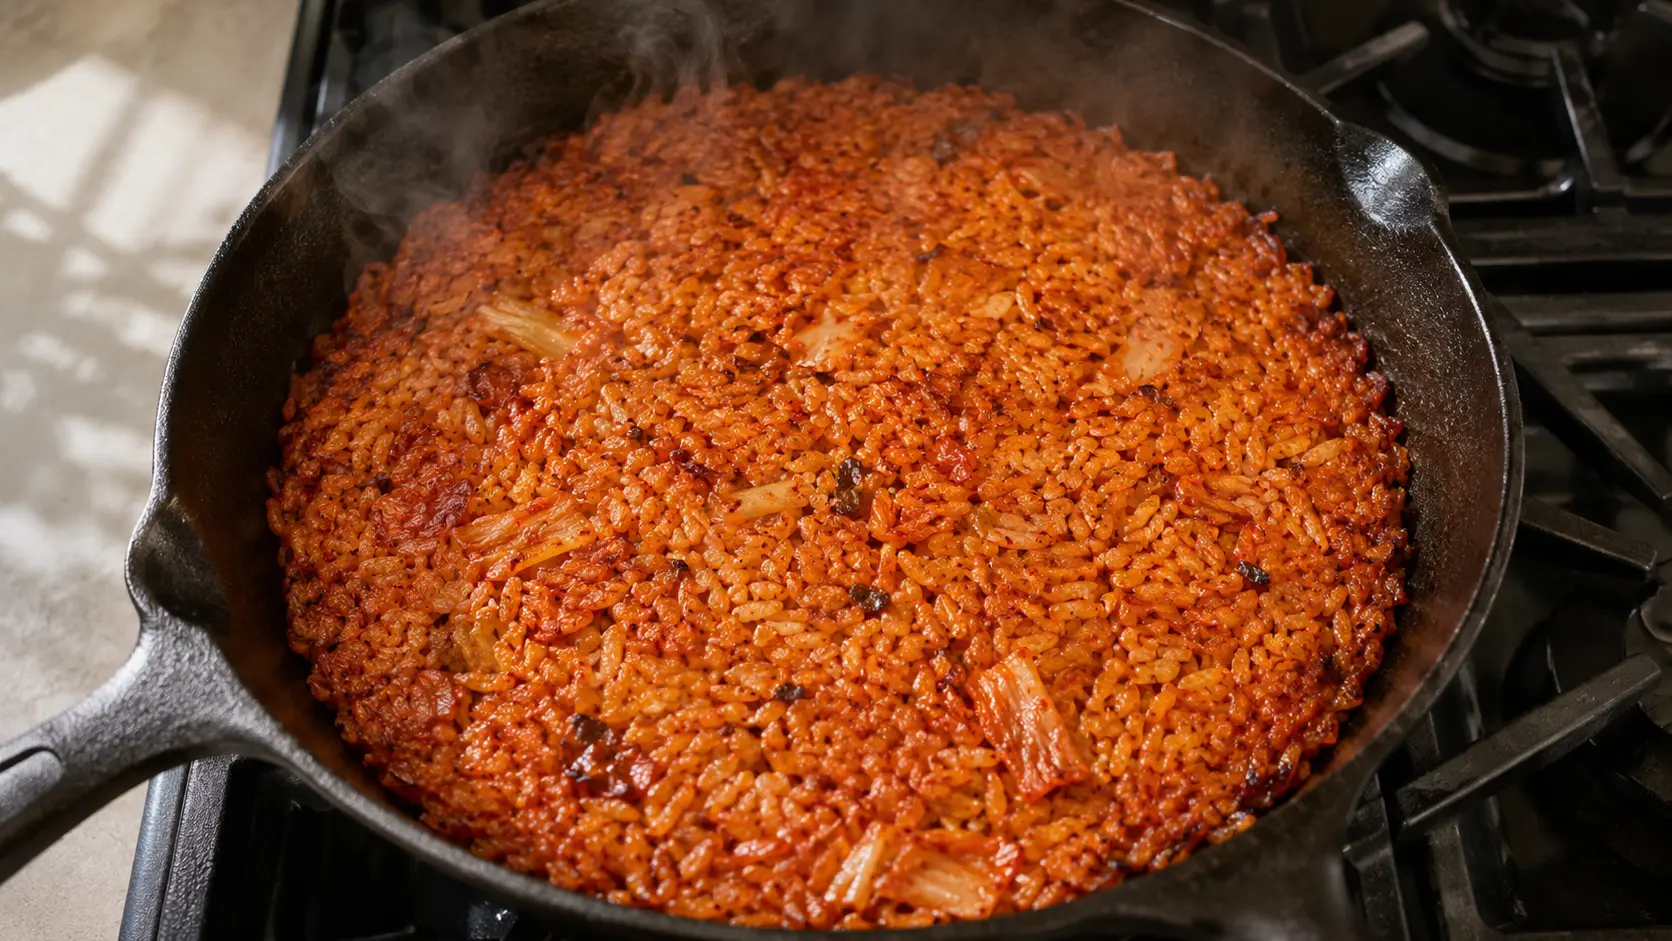
Add the broken rice to the pan and toss with the kimchi. Drizzle the soy sauce over the top while stirring, not into one spot — this way it coats grains instead of pooling. Stir gently for about two minutes until everything is coated and the rice takes on the orange-brown color of the kimchi.
Now stop stirring. Press the rice flat against the bottom of the pan, drop the heat to medium, and walk away for 90 seconds. What you’re building is nurungji — the crispy, lightly-scorched rice bottom that’s the whole point of this bowl. You’ll hear it start to crackle. If you smell any burn beyond toasted, lift the pan off the heat immediately and lower the temperature.
The Egg on Top
Push the rice to one side of the pan (or grab a small second skillet). Add another teaspoon of neutral oil to the empty space and let it heat for about 20 seconds — you want it hot enough that the egg white hisses on contact and blisters at the edges.
Crack the egg straight in. Cover the pan for 30 to 45 seconds if you like the yolk set on top but still fully runny inside. Skip the lid entirely if you want fully liquid yolk with crispy, lacy white edges. Runny yolks carry a small salmonella risk from non-pasteurized eggs — if that’s a concern, use pasteurized eggs (marked on the carton) or cook the yolk until fully set.
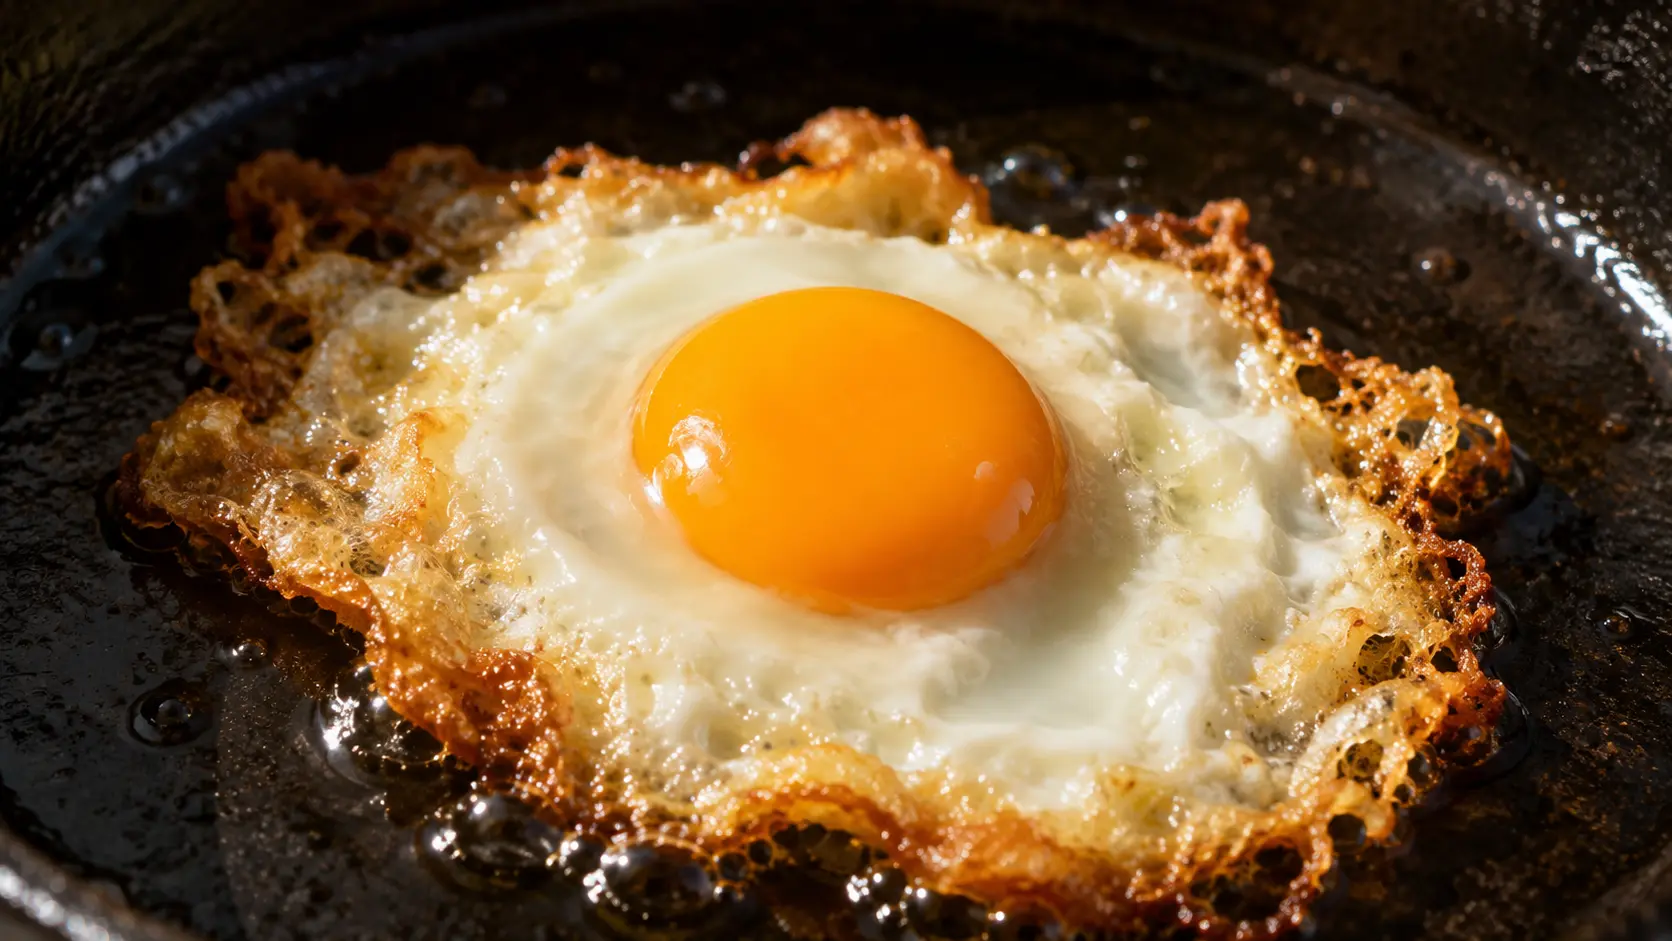
To plate: turn off the heat. Drizzle the sesame oil over the rice. Slide the egg on top. Finish with sliced scallions, torn roasted seaweed, and a generous spoon of chili crisp — oil and solids both.
Chili Crisp vs Gochujang: Which One and When
Do you need both? No. Do they do different things? Yes.
Gochujang is a cooked-in condiment. It’s a fermented chili paste with body, sweetness, and depth — the kind of thing that dissolves into fat and coats every grain from the inside. If your kimchi is on the milder side, stir a teaspoon of gochujang into the pan along with the kimchi juice. It fills out the base with a low, slow heat.
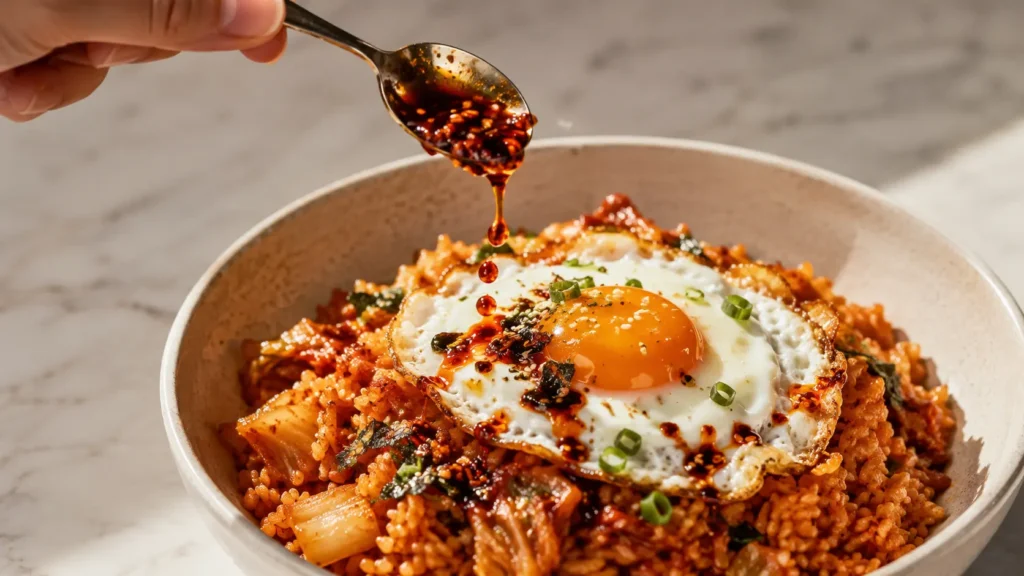
Chili crisp is a finish. It’s oil, crunchy fried garlic, fried shallot, and dried chili flakes — more a texture and a temperature than a flavor. Spoon it over the top at the table so the crunch stays crunchy and the oil doesn’t dull in the heat. Cooked-in chili crisp loses everything that made it interesting in the first place.
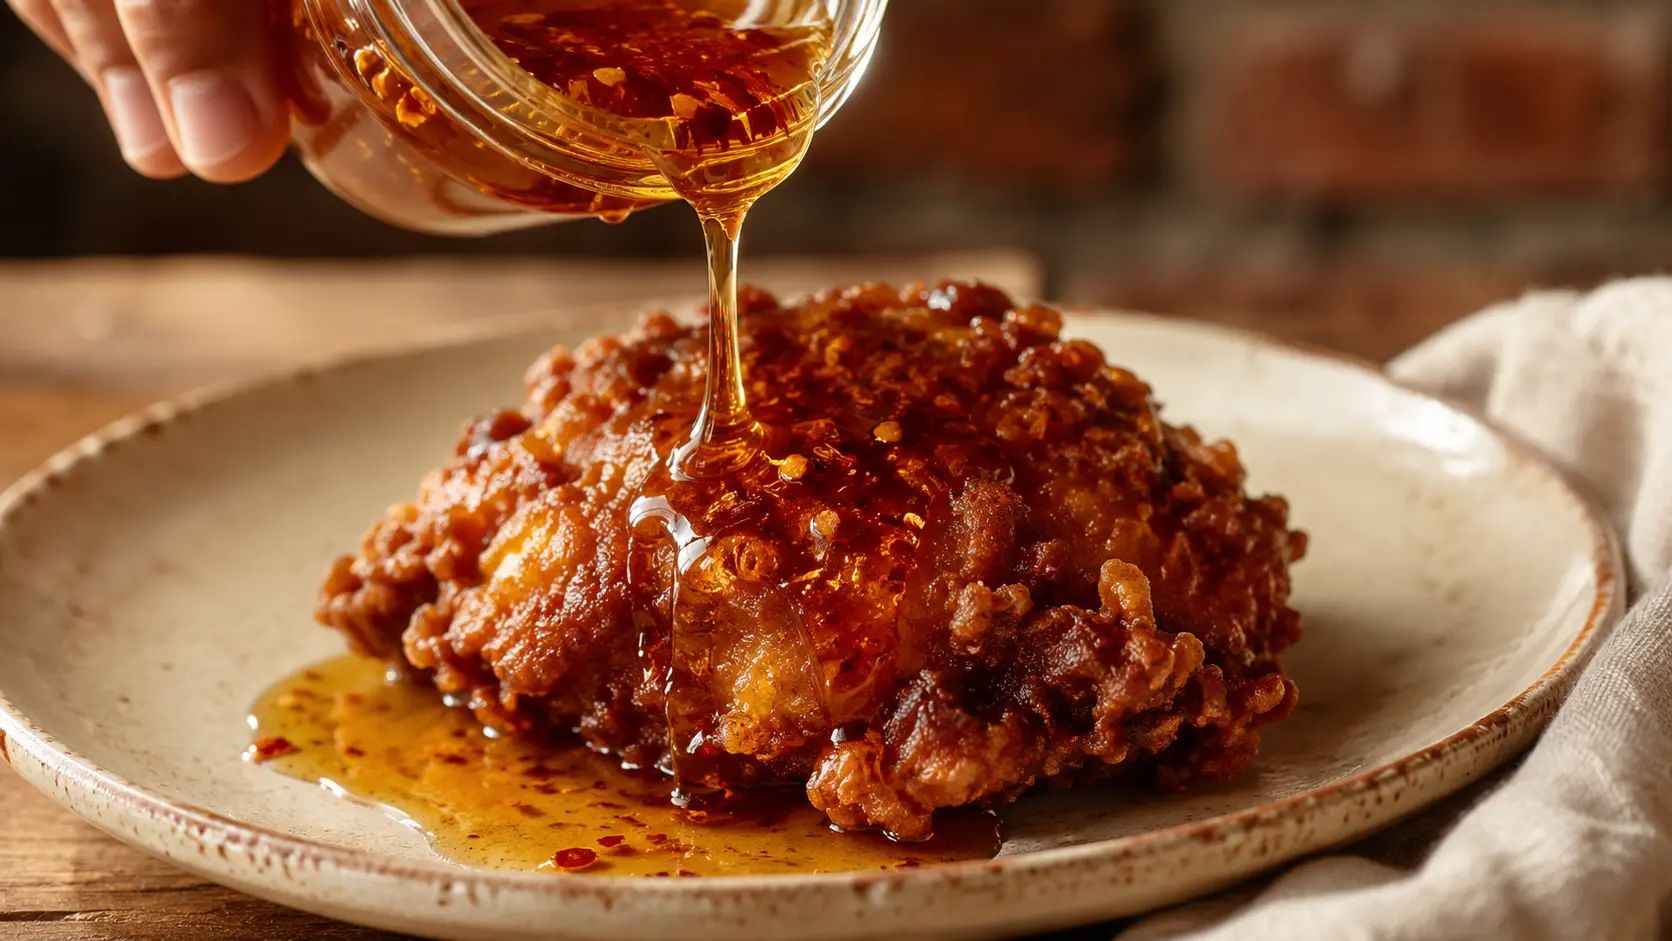
If you’ve had gochujang glaze on chicken thighs, you already know how the paste behaves once heat hits it — it caramelizes fast and needs something acidic to keep it in check. The kimchi provides that acid here.
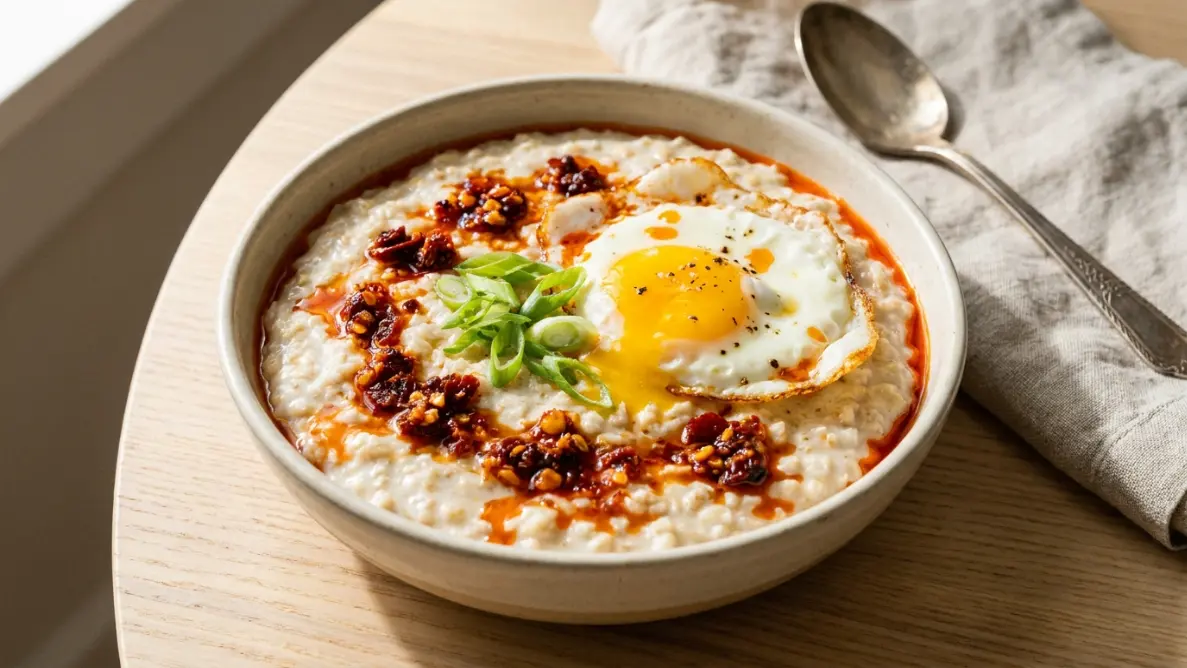
That same jar earns its space in the fridge — spoon it over another savory chili crisp bowl at breakfast and it does the same job with different carbs underneath.
Substitutions and How to Adapt Fresh Kimchi Safely
Grocery-store kimchi is often milder and less sour than well-aged kimchi. You can adapt the flavor without leaving the jar at room temperature.
Keep commercial kimchi refrigerated and follow the storage directions on its label. For a deeper, more aged flavor in this dish, cook fresh kimchi for one extra minute, add 1 teaspoon of gochujang, and stir in 1/2 teaspoon of rice vinegar with the kimchi juice. This will not duplicate long-fermented kimchi exactly, but it adds acidity, color, and depth without changing the product’s storage conditions.
A few useful swaps for other issues:
No pork, no bacon. The classic version often includes pork belly or bacon. Skip it entirely — the kimchi carries this dish on its own. If you want richness, drop a tablespoon of butter into the pan when the rice goes in.
Vegetarian or vegan. Most commercial kimchi contains fish sauce or salted shrimp. Look for kimchi labeled vegan (Mother in Law’s, Wildbrine, and a handful of Korean brands make it) or check the label for “no jeotgal.” Skip the egg or swap it for pan-fried tofu slices.
No day-old rice. Cook the rice, spread it in a thin layer across a rimmed baking sheet, and freeze it for 20 minutes. It won’t be perfect, but it will fry instead of steam.
No gochujang, no chili crisp. A pinch of gochugaru (Korean chili flakes) or a splash of sriracha covers most of the heat.
Storage, Reheating, and Rice Safety
Cooked rice is one of the more sensitive things you can leave sitting on the counter — Bacillus cereus spores survive cooking and multiply at room temperature. Refrigerate the cooked rice within two hours, and don’t leave the finished bowl sitting out longer than that either. FoodSafety.gov’s cold storage chart puts cooked rice at three to four days in the fridge.
Store leftover fried rice in an airtight container without the egg. Always cook the egg fresh. The rice keeps for three days.
Reheat in a skillet, not the microwave. A dry pan over medium heat, a teaspoon of oil, three to four minutes with an occasional press to rebuild some of the crispy bottom. The microwave will steam it and lose whatever nurungji you spent time building the first time.

Kimchi Fried Rice With a Runny Egg and Chili Crisp
Ingredients
Equipment
Method
- Heat 2 tablespoons of neutral oil in a heavy skillet over medium-high heat until shimmering. Add the chopped kimchi in a single layer and leave it undisturbed for 60 seconds.
- Cook the kimchi for 4 to 5 minutes, stirring every 30 seconds. When the oil changes from yellow to deep terracotta orange, the kimchi is ready.
- Add the kimchi juice and the gochujang, if using. Cook for 30 seconds, until glossy.
- Break the cold rice apart with your hands and add it to the skillet. Drizzle the soy sauce over the rice while stirring. Cook for about 2 minutes, until every grain is coated orange-brown.
- Press the rice flat against the bottom of the skillet. Reduce the heat to medium and leave it undisturbed for 90 seconds to create the crispy nurungji bottom.
- Push the rice to one side. Add 1 teaspoon of neutral oil to the empty space and heat for 20 seconds. Crack in one egg. Cover for 30 to 45 seconds, until the white is set and the yolk remains runny. Repeat with the second egg.
- Turn off the heat. Drizzle the toasted sesame oil over the rice. Divide the rice between two bowls and top each serving with an egg, sliced scallions, torn seaweed, and chili crisp.
Notes
Frequently Asked Questions
Can I use fresh kimchi?
Yes, but you’ll need to compensate. Add an extra teaspoon of gochujang, a half-teaspoon of rice vinegar, and let the kimchi cook a full minute longer in the pan to force some of that browning. It won’t taste identical to the aged version, but it’ll come close.
What’s the best rice for this?
Short-grain or medium-grain white rice — the kind labeled sushi rice or Korean short-grain. Jasmine works in a pinch. Basmati and other long-grain rice stays too separate and doesn’t hold the kimchi coating well.
Why is my kimchi fried rice mushy?
Two reasons, usually. Freshly-cooked rice is too moist and steams when it hits the pan instead of frying. Or too much kimchi juice went in at once. Use cold day-old rice and add the juice in stages — a tablespoon at a time — until the rice looks glossy but not wet.
Do I need gochujang if I have chili crisp?
Not really. Gochujang builds heat into the base, chili crisp lays it on top. If your kimchi is well-aged and already has a strong bite, chili crisp alone at the finish is plenty.
Can I make it without the egg?
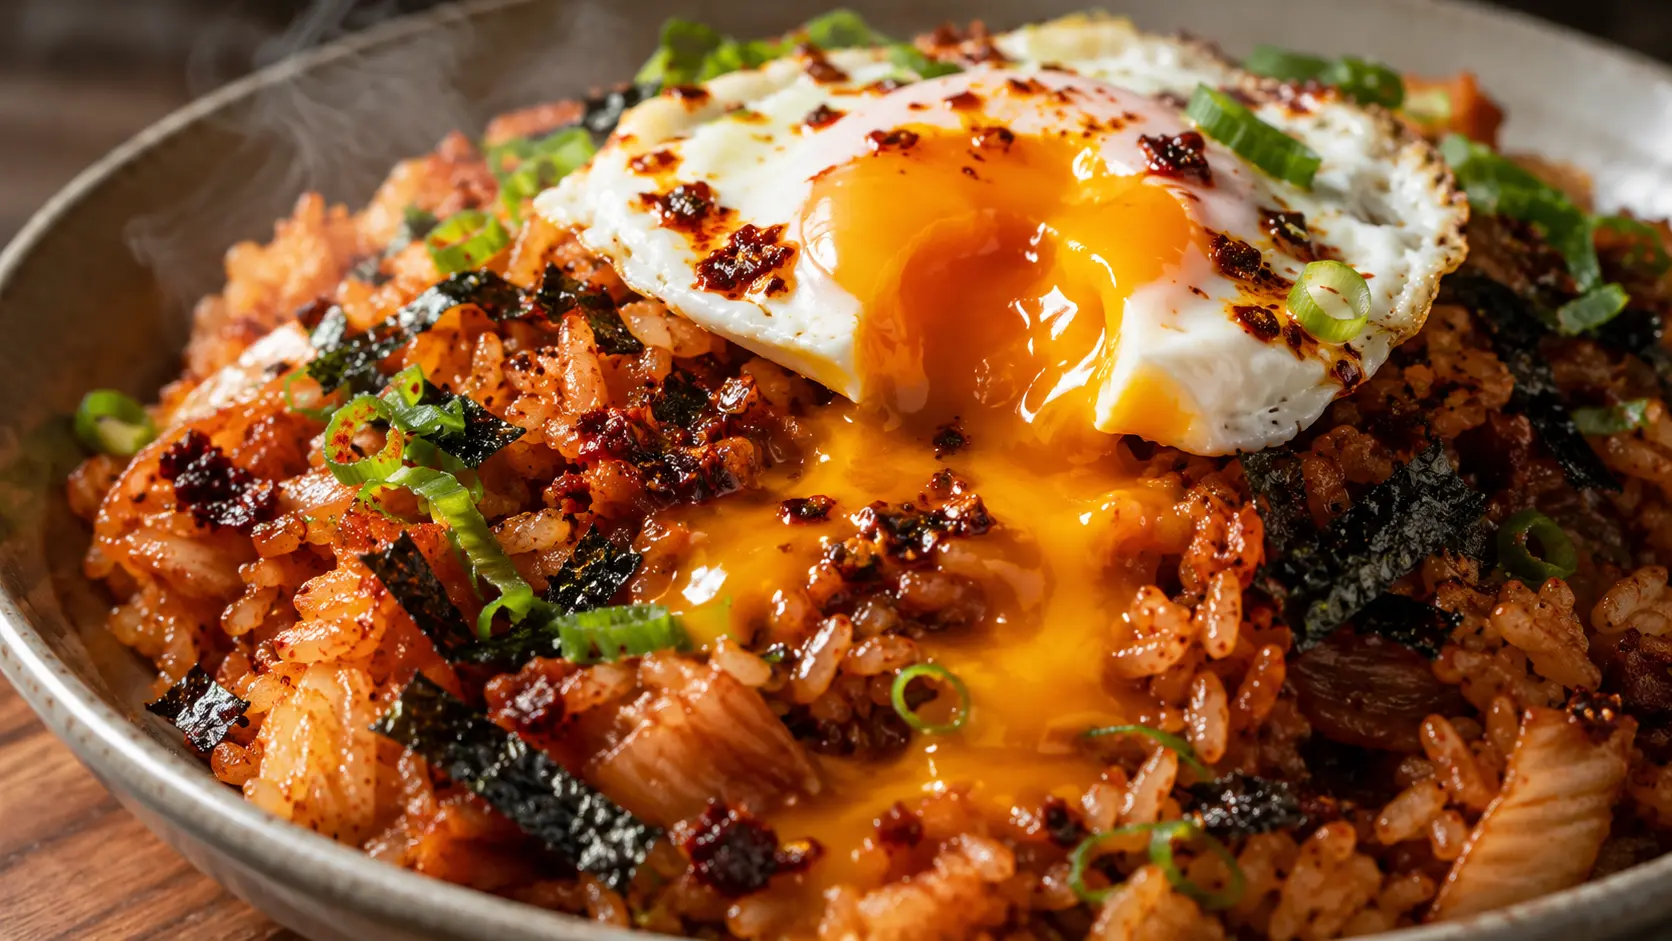
You can, but the runny yolk isn’t just a topping — it’s the sauce. When you break it, the yolk coats the crispy rice bottom and pulls the whole bowl together. A soft-scrambled egg mixed through works if you don’t want sunny-side-up, but a fully cooked egg or no egg at all changes what this dish is supposed to feel like.
Final Note
Properly refrigerated fermented kimchi may become softer, more sour, and more active as it ages, which can make it especially useful for fried rice. That does not mean every old jar is safe: discard kimchi with visible mold, a rotten or otherwise abnormal odor, a damaged or leaking container, or any condition the manufacturer’s label identifies as unsafe.
Next time you find a jar you’d almost written off, make this before you second-guess it.
Leave a Reply